


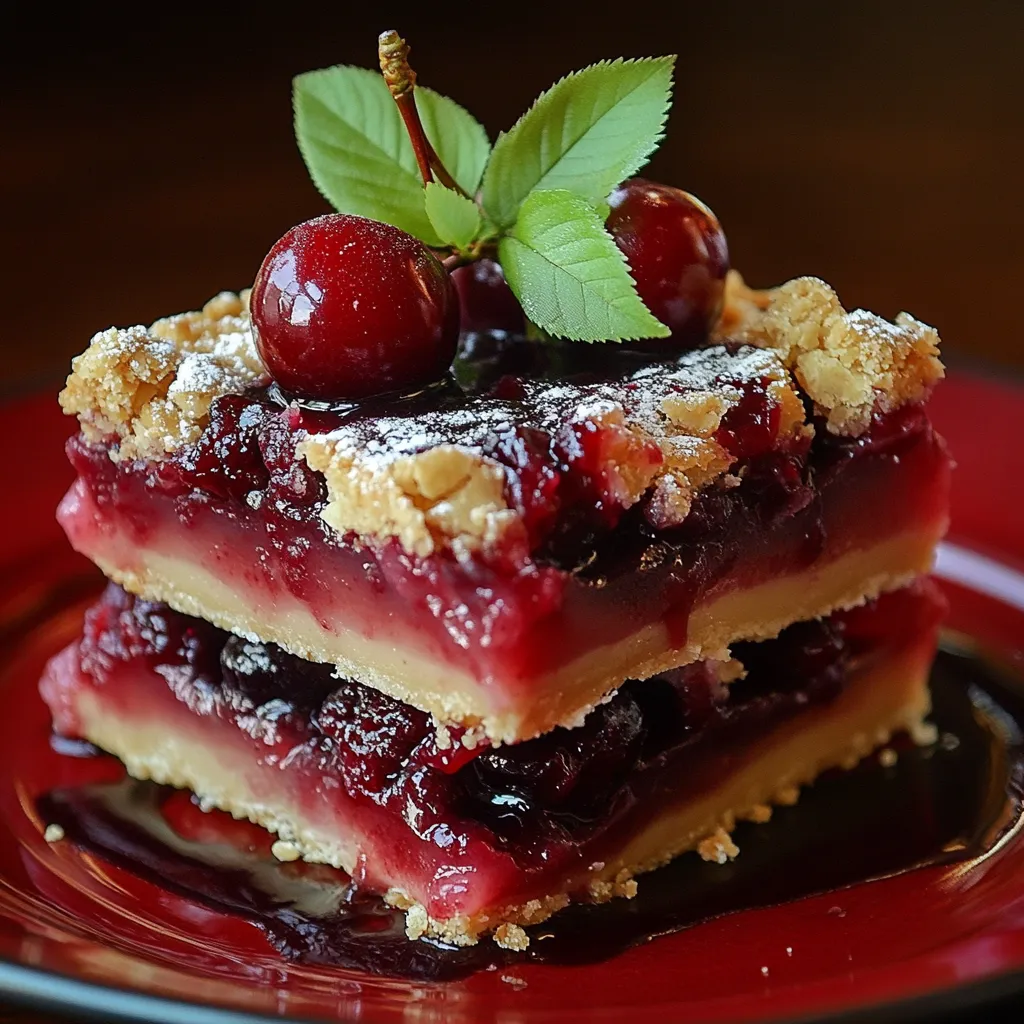
There’s something undeniably special about baking that sends a wave of comfort through the soul, and these Cherry Pie Bars are the perfect way to capture that warm feeling. Ideal for summer gatherings, cozy evenings by the fireplace, or festive holiday celebrations, this recipe promises to bring smiles to the faces of family and friends. With the vibrant tartness of cherries nestled between flaky, buttery crusts, these bars not only taste heavenly but also look stunning on any dessert table.
Inspired by old-fashioned cherry pies passed down through generations, these bars offer the same beloved flavor but come together with less fuss and more versatility on presentation. Perfect for sharing or indulging solo, these Cherry Pie Bars will become a cherished part of your culinary repertoire.
The Story Behind Cherry Pie Bars
Cherry pie holds a special place in many hearts, often bringing back memories of family gatherings, summer picnics, and even baking contests. The idea of transforming this classic dessert into convenient bite-sized bars came from a desire to blend tradition with modern ease. These bars not only pay homage to that delicious cherry pie filling but also bring a unique flair to dessert-making. Picture yourself baking a batch of these delightful bars, cutting them into neat slices, and watching as they disappear faster than you can say “cherry pie.” With each bite, you’ll understand why this recipe deserves a starring role in your dessert lineup.
Ingredients: A Delicious Mix of Flavors
To create these Cherry Pie Bars, you’ll need a harmonious blend of ingredients that work together to provide a symphony of flavors and textures. Here’s what you’ll need:
- For the Crust:
- 2 cups all-purpose flour — forms the base and gives it structure.
- 1 cup unsalted butter (softened) — ensures a rich flavor and flaky texture.
- 1/2 cup granulated sugar — adds sweetness to balance the tart cherries.
- 1/4 teaspoon salt — enhances all the flavors in the crust.
- 1 teaspoon vanilla extract — adds depth of flavor.
- For the Cherry Filling:
- 2 cups fresh or frozen cherries (pitted) — the star ingredient that brings sweetness and tartness.
- 3/4 cup granulated sugar — sweetens the filling while allowing the cherries to shine.
- 2 tablespoons cornstarch — helps thicken the filling without being overly gooey.
- 1 tablespoon lemon juice — brightens the filling and balances sweetness.
- 1/2 teaspoon almond extract — enhances the flavor of cherries beautifully.
Main Ingredients
Cherries: The cherries are the highlight of this recipe. Whether you opt for sweet or tart varieties, they give the filling its vibrant color and juicy flavor. Their unique combination of sweetness and tartness makes each bite delightful and refreshing, especially when paired with the buttery crust.
Optional Additions
If you’re feeling adventurous, consider adding a pinch of cinnamon to the cherry filling for added warmth. Or, stir in some finely chopped nuts for a delightful crunch. You might also want to experiment with other fruits such as blueberries or raspberries, which can complement the cherries beautifully.
Special Garnishes
To elevate your Cherry Pie Bars even further, consider drizzling a light glaze made of powdered sugar and milk over the top once they’re cool. Alternatively, a scoop of vanilla ice cream or freshly whipped cream served alongside adds a creamy contrast to the tart cherries, making it an irresistible treat.
Instructions: How to Prepare Cherry Pie Bars
Step 1: Preparation
Before diving into the baking, start by preheating your oven to 350°F (175°C). Then, grease a 9×13-inch baking dish or line it with parchment paper for easy removal. Next, measure out all your ingredients and prepare the cherries by washing and pitting them if using fresh. If you have frozen cherries, letting them thaw and draining the excess juice can help maintain the right filling consistency. Using a food processor can speed up the crust-making process!
Step 2: Mixing or Cooking
In a large mixing bowl, cream together the softened butter and sugar until light and fluffy. Gradually add in the flour, salt, and vanilla extract until it forms a crumbly dough. Take about two-thirds of this dough and press it firmly into the bottom of your prepared baking dish, creating a crust base. While that sets, mix your cherry filling together: in a separate bowl, combine the cherries, sugar, cornstarch, lemon juice, and almond extract until everything is well coated. Pour the cherry filling evenly over the crust. Lastly, crumble the remaining dough over the cherry layer evenly, creating a crumb topping.
Step 3: Assembly/Serving
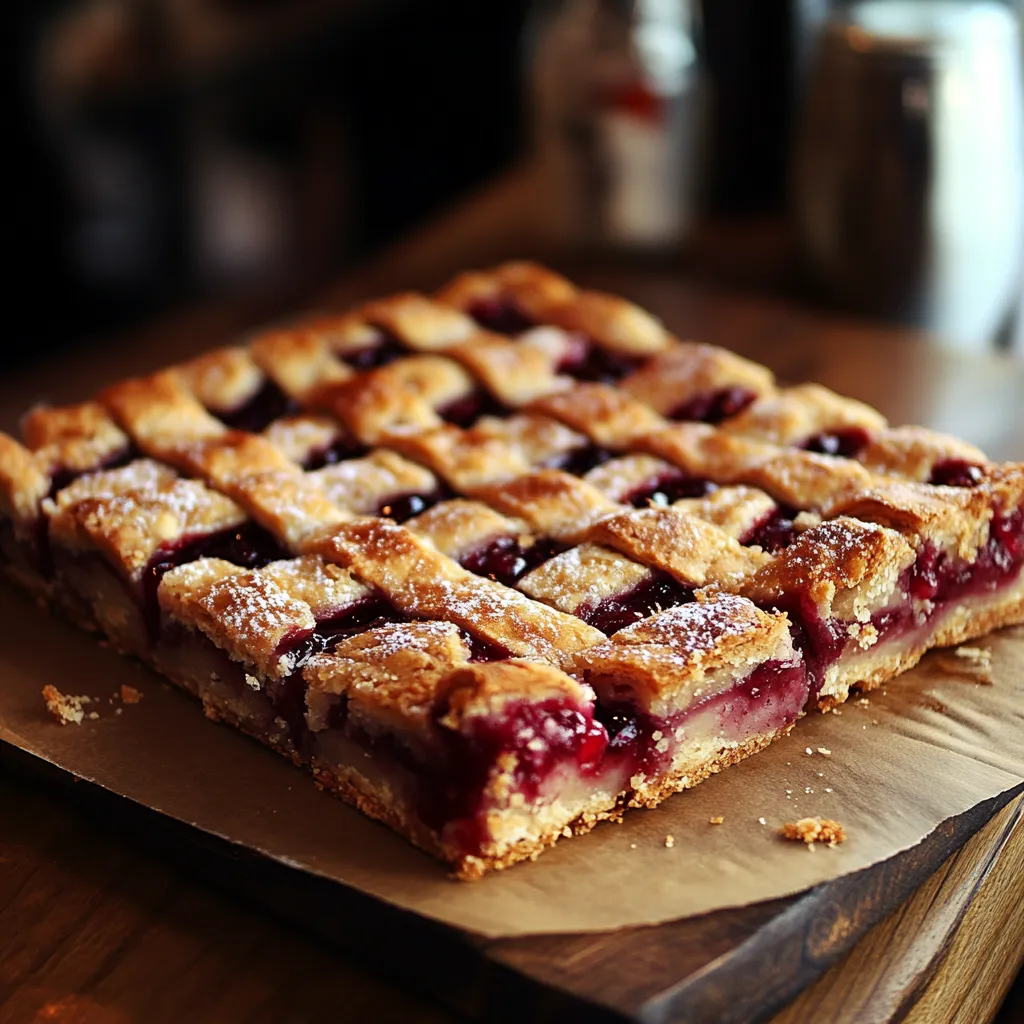
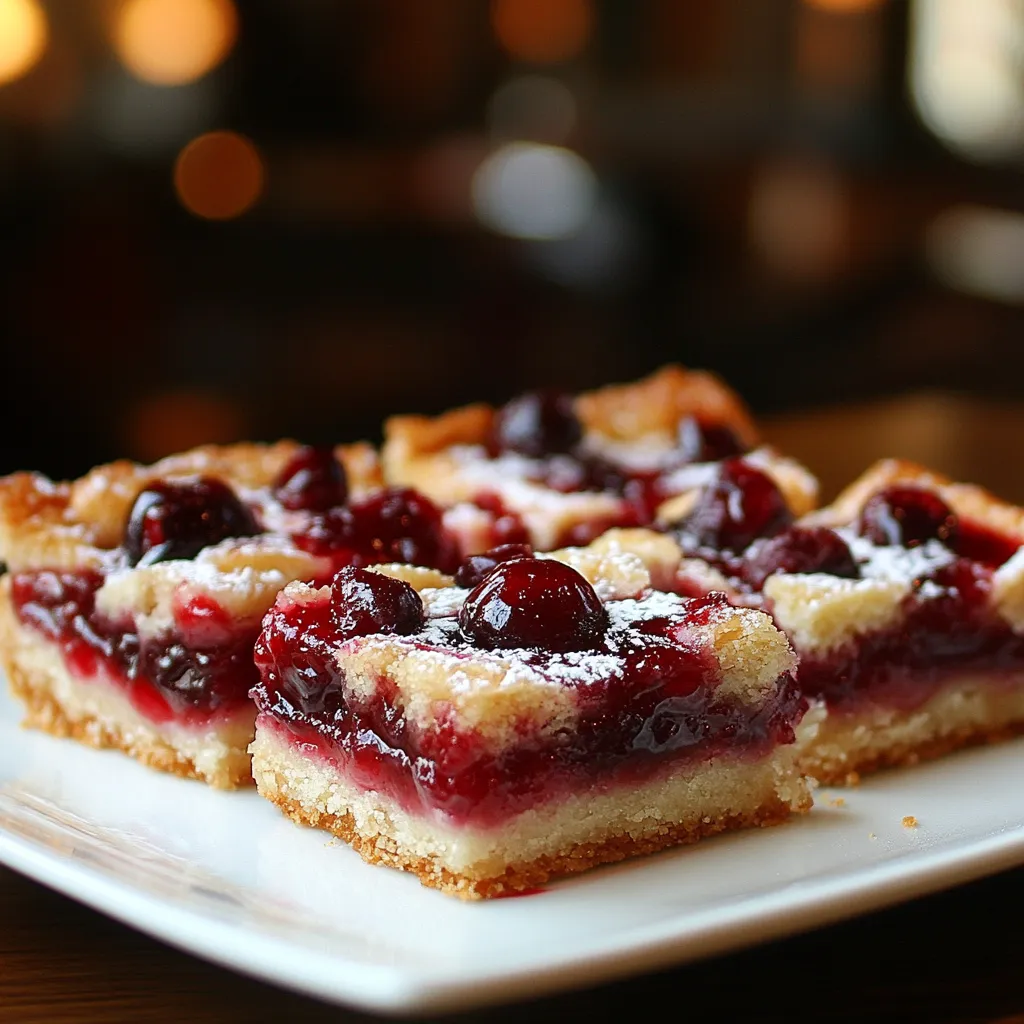
Carefully place the dish in the preheated oven and bake for 35-40 minutes or until the topping is golden brown and the filling is bubbly. Once baked, allow the bars to cool in the dish for about 15 minutes before transferring them to a wire rack to cool completely. For the best presentation, cut the bars into even squares and serve them on a decorative platter. Consider dusting them lightly with powdered sugar for that extra touch.
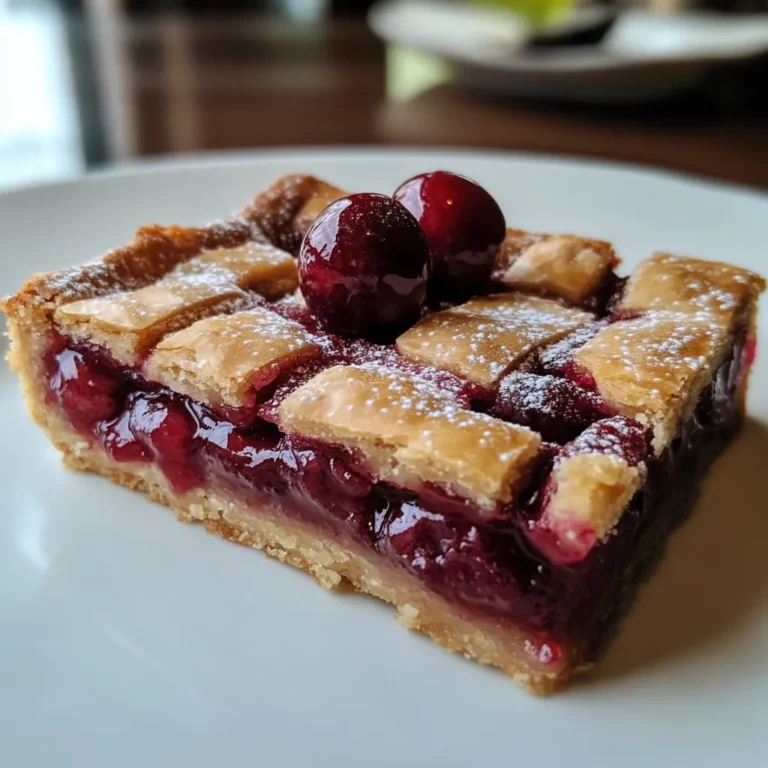
Cherry Pie Bars
Customizing Your Cherry Pie Bars
Flavor Variations
If you’re looking to switch up the flavor profile, consider adding spices like cinnamon or nutmeg to the cherry filling for a warming experience. Alternatively, for a more tropical twist, incorporating coconut flakes can add an interesting texture and hint of sweetness. Pairing the cherries with peaches can also create a delightful fusion of flavors that’s perfect for summer.
Dietary Adaptations
For those with dietary restrictions, this recipe is easily adaptable. Simply substitute the all-purpose flour with gluten-free flour for a gluten-free option. For a vegan version, consider using unsweetened applesauce in place of butter and a plant-based sugar alternative. Additionally, ensure that the filling contains no additives if using pre-made cherry fillings.
Making It a Meal
While these Cherry Pie Bars are a fantastic dessert on their own, they can be made into a full meal experience. Pair them with a light fruit salad or a scoop of ice cream for a delightful contrast of flavors. A refreshing glass of lemonade or iced tea complements the sweetness of the bars beautifully, making for a satisfying summer meal.
Serving Tips for Any Occasion
Presentation Ideas
For a summer garden party, consider serving the Cherry Pie Bars on a tiered cake stand. This not only elevates their presentation but also makes them easy for guests to grab. For added flair, scatter fresh cherries and mint leaves around the platter for a pop of color. You can even place a whimsical sign next to the dessert, proudly declaring them your “Cherry Pie Bars.”
Thematic Decor
For gatherings centered around a specific theme, like a vintage picnic, opt for rustic serving dishes and checkered tablecloths. Bright flowers, such as daisies or tulips, make lovely centerpieces, enhancing the cheerful, inviting atmosphere. For a holiday celebration, sprinkle edible glitter over the bars or serve them on festive-themed platters.
Complementary Pairings
If you want to create a full spread, pair the Cherry Pie Bars with other baked goods such as chocolate brownies or lemon squares. A rich cup of coffee or a selection of herbal teas will balance the sweetness of the dessert, providing a warm finish to your meal.
Final Thoughts
The Cherry Pie Bars are not just another dessert; they’re a delicious homage to cherished memories and family traditions. With their easy preparation and the ability to be customized in countless ways, they truly fit any occasion, from casual gatherings to formal holiday feasts. Encourage your inner baker to try these bars and make them your own with personal touches or unique flavors. The excitement in having these bars at your table will surely turn them into a beloved staple for all your friends and family.
Tips for Making Cherry Pie Bars
Fresh Ingredients
Using fresh and high-quality ingredients is crucial for the best outcome. Fresh cherries bring a burst of flavor and juiciness that frozen ones might lack. If using frozen cherries, ensure they are pitted and thawed properly, as excess moisture can negatively affect the texture of your bars.
Adjusting Flavor
Tweaking flavors can elevate your Cherry Pie Bars to new heights. If you prefer a less sweet filling, reduce the sugar slightly to let the tartness of the cherries shine through. Likewise, adding more lemon juice can enhance the overall brightness if the filling feels too heavy.
Storage Tips
To keep your bars fresh, store them in an airtight container at room temperature for up to 3 days. For prolonged freshness, consider refrigerating them, where they will last up to a week. When reheating, a quick pop in the microwave for 10-15 seconds will bring back their original texture and warmth.
Make It Ahead
One of the best aspects of these Cherry Pie Bars is that they can be prepared in advance. Assemble the bars the day before an event and bake them just before serving. Alternatively, you can prepare the crust and filling separately; store them in the refrigerator overnight and bake when ready. This not only saves time but also creates a delightful aroma that will have everyone eagerly awaiting dessert!
Serving Suggestions
Serve your Cherry Pie Bars while they are still slightly warm for the best experience. Consider offering a scoop of vanilla ice cream on the side for a delightful contrast, or keep them simple by dusting with powdered sugar just before serving. Either way, these bars are sure to impress!
FAQ
Can I use a different type of fruit? Absolutely! Feel free to experiment with other fruits like blueberries, raspberries, or peaches for different flavor combinations.
How do I make this less sweet? To adjust the sweetness, reduce the amount of sugar in both the crust and cherry filling according to your preference.
Can this be frozen for later use? Yes, these bars freeze well! Wrap them tightly in plastic wrap and store in an airtight container for up to 3 months. Allow to thaw in the refrigerator before serving.
What are good substitutes for butter? If you’re looking for dairy-free options, coconut oil or vegan butter can be excellent substitutes for the butter in the crust.
Conclusion
Cherry Pie Bars weave together sweet nostalgia and delightful flavor into a treat that is not only delicious but also a joy to share. Their unique qualities and adaptable nature make them a must-try for both novice bakers and seasoned pros. Whether you keep them classic or explore variations, these bars provide the perfect opportunity to create unforgettable memories with your loved ones. Encourage your baking journey, and be sure to share your experiences with this charming recipe in the comments below!

Cherry Pie Bars
- Total Time: 1 hour
Description
Discover our easy Cherry Pie Bars recipe Enjoy a delicious quick treat that captures the authentic taste of cherry pie Perfect for any occasion
Ingredients
- 2 cups all-purpose flour
- 1 cup unsalted butter (softened)
- 1/2 cup granulated sugar
- 1/4 teaspoon salt
- 1 teaspoon vanilla extract
- 2 cups fresh or frozen cherries (pitted)
- 3/4 cup granulated sugar
- 2 tablespoons cornstarch
- 1 tablespoon lemon juice
- 1/2 teaspoon almond extract
Instructions
- Preheat your oven to 350°F (175°C) and grease a 9×13-inch baking dish or line it with parchment paper.
- Measure out all your ingredients and prepare the cherries by washing and pitting them if using fresh.
- If using frozen cherries, let them thaw and drain excess juice.
- Cream together the softened butter and sugar until light and fluffy.
- Press about two-thirds of this dough into the bottom of your prepared baking dish, creating a crust base.
- In a separate bowl, combine the cherries, sugar, cornstarch, lemon juice, and almond extract until well coated.
- Pour the cherry filling evenly over the crust.
- Crumble the remaining dough over the cherry layer evenly.
- Bake for 35-40 minutes or until the topping is golden brown and the filling is bubbly.
- Allow the bars to cool in the dish for about 15 minutes before transferring them to a wire rack to cool completely.
- Cut the bars into even squares and serve them on a decorative platter.
- Dust lightly with powdered sugar for an extra touch.
- Prep Time: 5 minutes
- cooling: 15 minutes
- Cook Time: 40 minutes
- Category: dessert
- Method: baking
0 Comments