

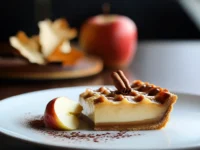


Easy Authentic Apple Pie Filling Recipe for Delicious Desserts
There’s something undeniably nostalgic about the sweet aroma of apple pie filling wafting through the kitchen, and there’s no better time to whip up this delightful treat than during cozy fall evenings or festive holiday gatherings. Whether you’re hosting a family dinner or simply treating yourself after a long day, this recipe is bound to bring warmth to your heart and home. The inspiration for this apple pie filling recipe stems from my grandmother’s kitchen, where she would spend afternoons slicing apples and sharing stories. The way she balanced the sweetness with spicy cinnamon and lemon juice is what makes this filling truly special.
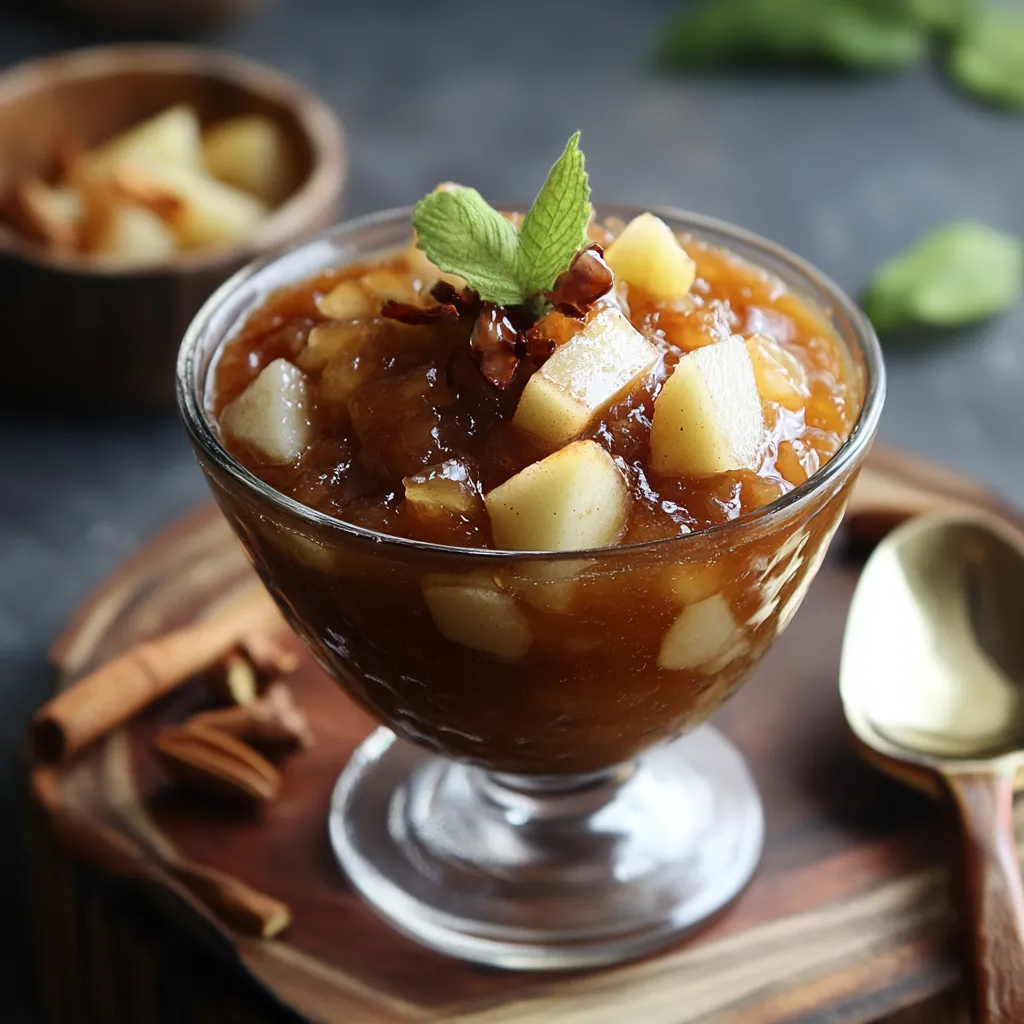
This apple pie filling is not just easy to prepare; it boasts a unique combination of flavors that makes it versatile for numerous dishes beyond just pies—it can be a topping for pancakes or served warm over vanilla ice cream. Perfect for gatherings or a quiet night in, this recipe is sure to become a cherished staple in your culinary repertoire.
The Story Behind Apple Pie Filling
Every family has its food traditions, and for many, apple pie holds a special place in their hearts. My love for apple pie filling blossomed because of my grandmother’s holiday baking. We would gather around the table, flour dusting our hands, as she taught us the secrets of creating the perfect filling. The comfort of these shared moments inspired me to preserve the essence of her recipe—one that goes beyond simple ingredients and captures the warmth of family gatherings and celebrations.

Ingredients: A Delicious Mix of Flavors
- 6 cups of sliced apples (about 5 medium apples) – Granny Smith or Honeycrisp are great choices for balance.
- 3/4 cup granulated sugar – Adds sweetness and helps create a syrupy filling.
- 1/4 cup brown sugar – Introduces a hint of caramel flavor and depth.
- 1/4 cup all-purpose flour – Acts as a thickening agent to give the filling body.
- 1 tablespoon lemon juice – Brightens flavors while balancing the sweetness.
- 1 teaspoon ground cinnamon – Brings warmth and a spice element that complements apples.
- 1/2 teaspoon ground nutmeg – Adds a unique layer of warmth and complexity.
- 1/4 teaspoon salt – Enhances the overall flavor by balancing sweetness.
- 2 tablespoons butter – Aids in richness and provides a velvety finish.
Main Ingredients
Apples: The star of this recipe, fresh, crisp apples provide both sweetness and texture. Using a tart variety like Granny Smith combines beautifully with the sugars to create a balanced filling that holds its shape during baking.
Brown Sugar: This ingredient contributes a subtle caramel flavor, while granulated sugar offers the sweetness we associate with desserts. Using both sugars creates a richer, more sophisticated taste.
Optional Additions
If you’re looking to customize your filling, consider adding a pinch of ground ginger for a zesty kick or a splash of vanilla extract for depth. For an extra layer of flavor, throw in some dried cranberries or pecans!
Special Garnishes
After you’ve lovingly prepared your filling, top your pie or dessert with a beautiful sprinkle of cinnamon sugar for an inviting crunch, or consider serving it with a dollop of freshly whipped cream for the ultimate indulgence.
Instructions: How to Prepare Apple Pie Filling
Step 1: Preparation
Begin by selecting your apples—using a combination of tart and sweet varieties can enhance the flavor profile. Preheat your oven to 350°F (175°C). While it’s heating, wash, peel, and slice your apples into thin, even pieces. This ensures they cook uniformly. Measure out your ingredients, and have them ready to go as you embark on this culinary adventure. For a smoother process, use an apple corer and slicer to save time!
Step 2: Mixing or Cooking
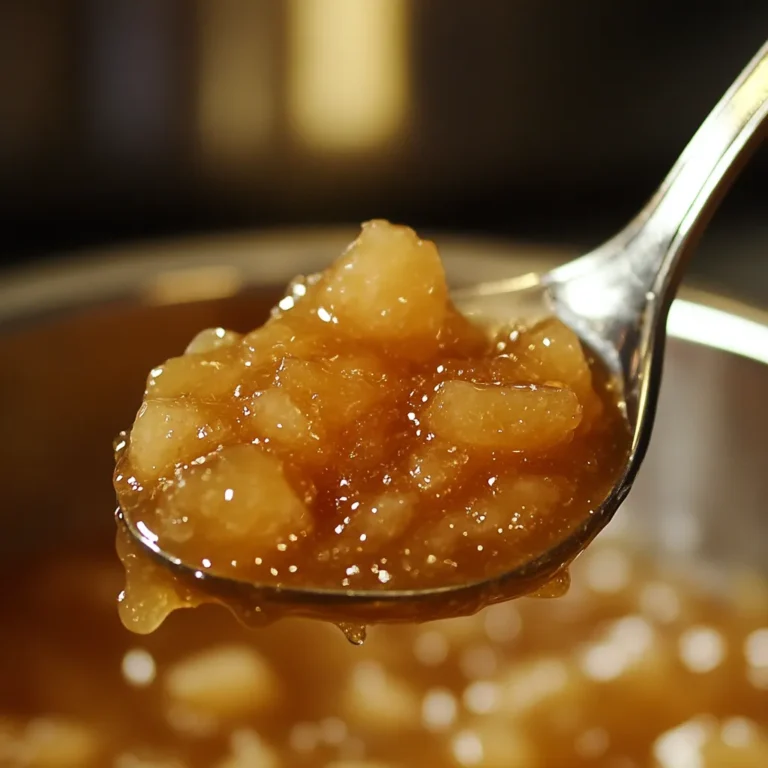
In a large mixing bowl, gently toss the sliced apples with both granulated and brown sugar, flour, lemon juice, cinnamon, nutmeg, and salt. Stir until the apples are evenly coated, allowing them to release their natural juices while melding with the sugars and spices. Once mixed, let the filling rest for about 10-15 minutes, allowing the mixture to become syrupy. This helps enhance the flavors, making for an unforgettable filling. To ensure the right consistency, take care not to overmix, keeping the apples intact and maintaining some texture.
Step 3: Assembly/Serving
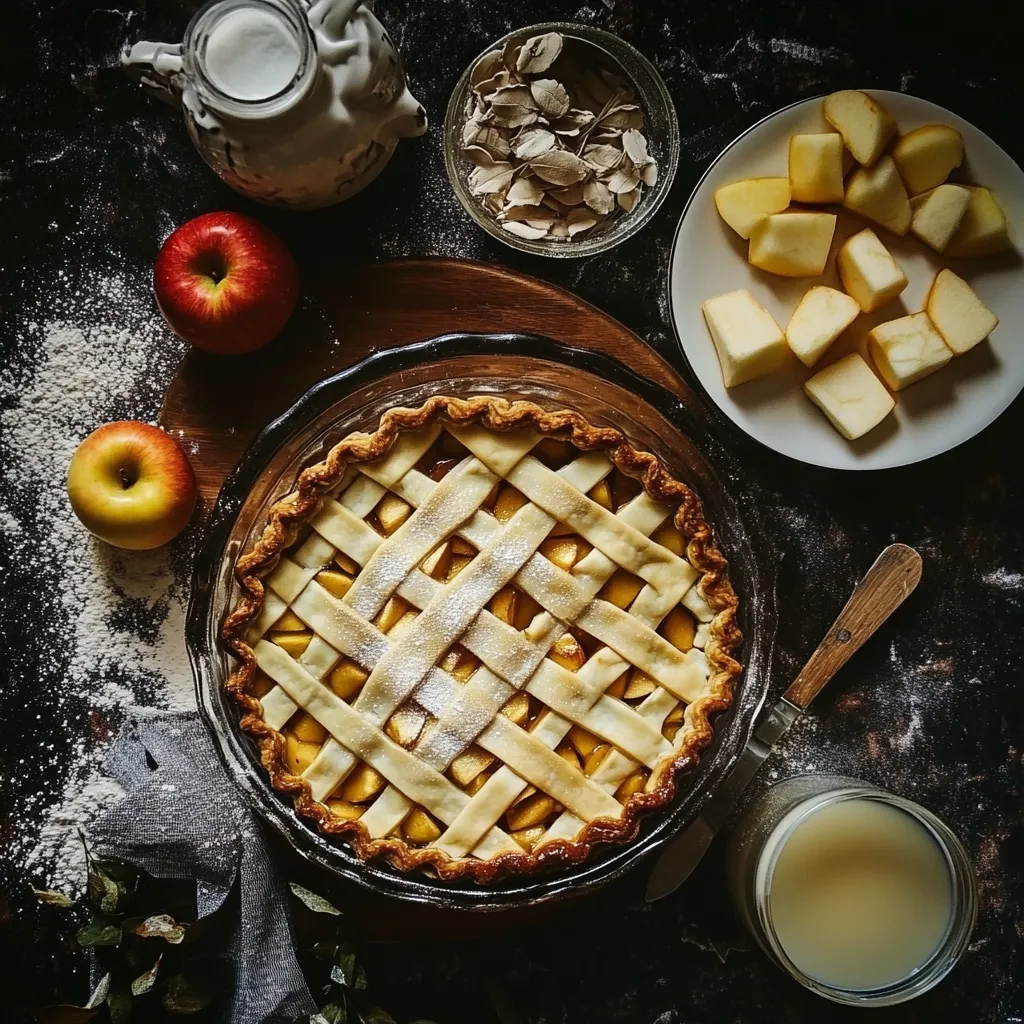
Your apple pie filling is now ready! To serve, spoon the mixture into your pre-prepared pie crust and dot the top with butter. Cover with the second crust, and make sure to create slits for steam to escape. Bake in your preheated oven for about 45-50 minutes or until the top crust is golden brown and the filling is bubbling. Allow the pie to cool slightly before serving. For a creative twist, serve the pie in individual ramekins for an elegant presentation.
Customizing Your Apple Pie Filling
Flavor Variations
Want to change things up? Try adding a touch of cardamom for an exotic spice or include some grated zest from oranges or lemons to brighten the flavor even more. Each variation brings a new twist to the classic dish.
Dietary Adaptations
If you or your guests have dietary needs, you can easily adapt this recipe. For a vegan version, substitute the butter with coconut oil and use maple syrup instead of granulated sugar. To make it gluten-free, swap out all-purpose flour with a gluten-free flour blend.
Making It a Meal
This delightful apple pie filling works well in various settings. For a complete meal experience, consider serving it with a scoop of vanilla bean ice cream or drizzled over pancakes during brunch. Additionally, a warm cup of spiced cider completes the cozy atmosphere.
Serving Tips for Special Occasions
Presentation Ideas
For a charming fall gathering, serve your apple pie on a rustic wooden serving board surrounded by small pumpkins and autumn leaves. This not only enhances the dessert but also creates a beautiful centerpiece for your table.
Thematic Decor
Set the mood with string lights and rich autumn colors. Use plaid tablecloths to emulate a cozy, country feel. Incorporating seasonal elements, such as apples or small lanterns, adds a personal touch to your celebration.
Complementary Pairings
Pair your apple pie with a scoop of vanilla ice cream, a sprinkle of cinnamon, or even a glass of spiced apple cider. Each option highlights the flavors of the filling while enhancing the overall dining experience.
Final Thoughts
This apple pie filling recipe is a delightful combination of tradition and flavor, destined to become a favorite in your household. Not only is it simple to prepare, but its versatility makes it suitable for various occasions—from festive holidays to a simple family dinner. I invite you to explore this recipe and make it your own, adding a sprinkle of your personal touch. It’s not just about the dish; it’s about creating memorable moments with those you love.
Tips for Making Apple Pie Filling
Fresh Ingredients
Always opt for fresh, high-quality ingredients, particularly when it comes to apples. Fresh apples lend a crisp texture and vibrant flavor that processed or older apples can’t match.
Adjusting Flavor
Don’t be afraid to tweak the flavors to fit your preferences! If you want a more pronounced tang, add a little extra lemon juice. Conversely, if you prefer a sweeter filling, increase the sugar gradually until it meets your taste.
Storage Tips
Any leftover apple pie filling can be stored in an airtight container in the refrigerator for 3-5 days. To reheat, place it in a saucepan over low heat until warm, adding a bit of water if necessary to achieve the desired consistency.
Make It Ahead
A fantastic option for busy hosts is to prepare the apple pie filling a day in advance. Store it covered in the fridge, allowing the flavors to meld beautifully overnight. This way, you can easily assemble your pie the day of the event.
Serving Suggestions
For the best experience, serve your pie warm, right out of the oven. If serving later, consider reheating pieces in the oven instead of the microwave to maintain a crispy crust.
FAQ
- Can I use a different type of apple? Absolutely! While Granny Smith and Honeycrisp work great, feel free to experiment with your favorites for varied tastes.
- How do I make this less spicy? If you’re not a fan of spices, reduce the cinnamon and nutmeg to your liking, or omit them entirely.
- Can this be frozen for later use? Yes! You can freeze the filling for up to three months. Let it cool completely before transferring to a freezer-safe container.
- What are good substitutes for flour? If you need a gluten-free option, almond flour or a store-bought gluten-free blend can work well in this recipe.
Conclusion
As you embark on creating this apple pie filling, remember it’s not just a recipe—it’s a chance to create experiences and memories around the table. With its mouthwatering flavors, ease of preparation, and adaptability, this recipe is a must-try. Don’t hesitate to share your experiences or personalization in the comments; your feedback can inspire others! Let’s keep the tradition of sharing delicious recipes alive, reminding us how even the simplest of preparations can bring joy to our lives.

Apple Pie Filling Recipe
- Total Time: 1 hour
Description
Discover this easy authentic apple pie filling recipe perfect for crafting delicious desserts that impress Enjoy the taste of homemade goodness
Ingredients
- 6 cups of sliced apples (about 5 medium apples) – Granny Smith or Honeycrisp are great choices for balance.
- 3/4 cup granulated sugar – Adds sweetness and helps create a syrupy filling.
- 1/4 cup brown sugar – Introduces a hint of caramel flavor and depth.
- 1/4 cup all-purpose flour – Acts as a thickening agent to give the filling body.
- 1 tablespoon lemon juice – Brightens flavors while balancing the sweetness.
- 1 teaspoon ground cinnamon – Brings warmth and a spice element that complements apples.
- 1/2 teaspoon ground nutmeg – Adds a unique layer of warmth and complexity.
- 1/4 teaspoon salt – Enhances the overall flavor by balancing sweetness.
- 2 tablespoons butter – Aids in richness and provides a velvety finish.
Instructions
- Begin by selecting your apples—using a combination of tart and sweet varieties can enhance the flavor profile. Preheat your oven to 350°F (175°C). While it’s heating, wash, peel, and slice your apples into thin, even pieces. This ensures they cook uniformly. Measure out your ingredients, and have them ready to go as you embark on this culinary adventure. For a smoother process, use an apple corer and slicer to save time!
- In a large mixing bowl, gently toss the sliced apples with both granulated and brown sugar, flour, lemon juice, cinnamon, nutmeg, and salt. Stir until the apples are evenly coated, allowing them to release their natural juices while melding with the sugars and spices. Once mixed, let the filling rest for about 10-15 minutes, allowing the mixture to become syrupy. This helps enhance the flavors, making for an unforgettable filling. To ensure the right consistency, take care not to overmix, keeping the apples intact and maintaining some texture.
- Your apple pie filling is now ready! To serve, spoon the mixture into your pre-prepared pie crust and dot the top with butter. Cover with the second crust, and make sure to create slits for steam to escape. Bake in your preheated oven for about 45-50 minutes or until the top crust is golden brown and the filling is bubbling. Allow the pie to cool slightly before serving. For a creative twist, serve the pie in individual ramekins for an elegant presentation.
- Prep Time: 10 minutes
- Resting: 15 minutes
- Cook Time: 50 minutes
- Category: Dessert
- Method: Baking
0 Comments